Installing Debian to escape the PRISM Prison!
 Installing Debian to escape the PRISM Prison!
Installing Debian to escape the PRISM Prison!
Are you tired of the big software and services providers taking your privacy for granted? Microsoft, Google, Apple, Facebook, Sprint, Verizon and ATT have all sold us out. It’s time to start fresh. A fresh start requires an OS you can trust. We need to all be Installing Debian to escape the PRISM Prison!
Download this post for offline reading
Why do we recommend Debian?
Debian has a long tradition of software freedom. Contributors are required to sign a social contract and adhere to the ethical manifesto. Strict inclusion guidelines ensure that only certified open source software gets packaged in the main repositories. Add to this a kick butt package system (apt) and you have the perfect OS to build your anti-snooping OS.
Options for Switching to Debian
Changing your operating system can be a bit daunting, so we’ll discuss some options. These range in order from simple to total nuking of your existing system. Choose wisely, friend.
Option 1: Download the Knoppix Live CD and run the OS from the CD itself with no install. This is a great way to try out Linux and see what it can do. I always carry a Knoppix Live CD with me, and I have used it for over a month straight when my hard drive failed (while waiting on a hard drive replacement to arrive).
Tails is also another Live CD with Tor and extra Privacy enhancements.
Option 2: Re-purpose an older 2nd computer as a Debian computer. Much safer than wiping clean your main workstation. Make sure there aren’t any files you want to keep before you proceed.
Option 3: Buy a new hard drive and install it into your current desktop or tower pc. Depending on the age of your system your hard drive will either be SATA (newer or current tech) or IDE (older tech)
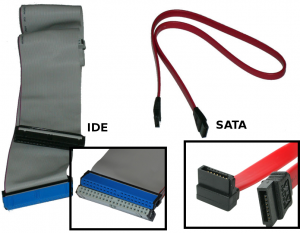 |
| IDE and SATA Cables |
Some laptops and notebooks also have the ability to change hard drives quickly via an externally accessible chassis. Laptop drives are also available in SATA or IDE. If you refer to the image above, it’s pretty similar designs for the laptop versions.
Option 4: Shrink your Windows or Mac OS X partition and create a new partition (or partitions) for Debian, using gparted. This could cause total data loss, and is more for the advanced technical crowd.
Option 5: Wipe your system of Windows (or Mac OS) completely and start anew. A pioneering spirit and some really good backups are required. If this sounds like you, brave traveler, then pull out your usb backup drive and start backing up your pictures, videos, address books, contact lists, email, documents and tax returns.
Installing Debian
Time to download Debian.
I typically download the “net installer“, which means that you need an internet connection to install most of the packages. Feel free to download the Debian install method that suits your needs. They have everything from the net installer that I use all the way through full installation CDs or DVDs (you can use bittorrent to download them if need be!)
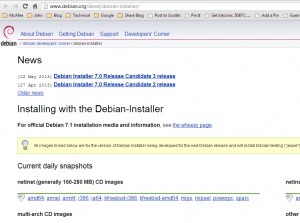 |
| Debian Net Installer |
Boot the CD or USB Debian image
After you have downloaded your chosen software images and have burned them to a CD (or DVD) you’ll need to boot from the CD (or DVD). Once you have booted from the CDRom you should see the Debian installer boot menu.
Use your cursor arrows to navigate and the enter key to choose the currently highlighted selection. I prefer to use the basic installer (the very first choice on the menu) as the graphical install option can sometimes be finicky with some video cards (maybe I’m just old school, who knows).
I’m installing from the net installer so I need an active Internet connection. If you are using a laptop or wifi card you might have to download some additional firmware, but Debian will tell you which firmware you need, then you can plug that into startpage.com (not google, blah).
Select your language of choice
On this screen you’ll want to select your language. Warning: selecting a language that you don’t speak, will not be helpful at all.
Set your location
This sets your time zone, so nothing too magical or spooky.
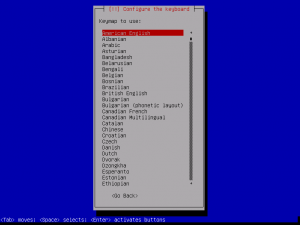
Choose your Keyboard
Select your keyboard language.
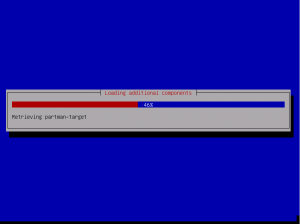
Take a break, grab some coffee
Wait, while Debian does some stuff …. It won’t be long, so feel free to remain seated if that behooves you.
Set the system’s hostname
Finally you get to type. Name your system (set the hostname). If you want to call your computer debian (the default) then you can just hit enter. If you want to call it something else like “turbobeast”, feel free to remove the default debian hostname and add “turbobeast” instead.
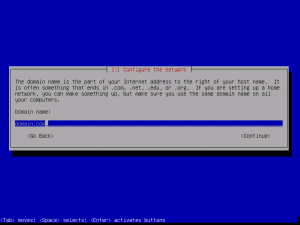
Set your host’s domain name
Now set the domain portion of the hostname (ex: domain.com) if you don’t have a domain just use domain.com and hit enter.
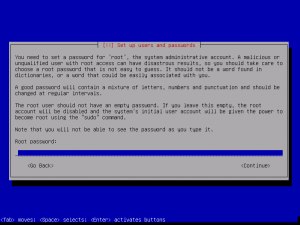
Set the password for the root account
The next step is setting the root password (Administrator account to all your Windows users). Choose something that you’ll never forget and make sure to use a strong password (a mix or upper case letters, lower case letters, numbers and symbols). You’ll have to verify the password, so you’ll be typing it twice.
Create the normal user account
Now that you’ve set your root password, you need to create your regular user account. If you are worried about privacy, no one will force you to use your real name (wink wink, nudge nudge). Thanks for reading this tutorial, John Doe! Keep in mind that you should never login as “root” but should use the “sudo” command to execute root level stuff.
Create your username for your user account
We move on to the username for the account. If you are John Doe, you can be jdoe or johnd or john or doe or whatever you want, even zorro! Typically I see first intial then last name (jdoe).
Set the user account password
Here we set the password for your every day user account (username). Choose something that you’ll never forget and make sure to use a strong password (a mix or upper case letters, lower case letters, numbers and symbols). You’ll have to verify the password, so you’ll be typing it twice.
Wait again
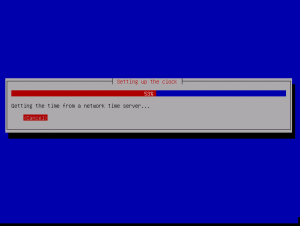
Wait, while Debian does some stuff ….Connecting to the net, syncing the system clock via NTP (network time protocol)
Select your timezone
Select your time zone, if you want your clock to match where you live…and why wouldn’t you?
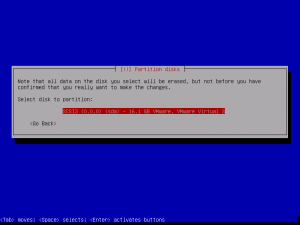
We have come to the part of the install where we need to be very careful, the disk partitioning. If you are a pro you can chose any of these options.
If you installed a 2nd hard disk, are using a 2nd PC or are removing Windows and starting 100% from scratch select Guided – use entire disk.
I have some info for you. If you have Windows installed and have added 2nd SATA hard drive you will likely want to select sdb. Windows is typically installed on the primary drive (SATA port 0) and is sda
SATA ports work like this:
SATA0 = sda
SATA1 = sdb
SATA2 = sdc
SATA3 = sdd
and so on.
If you installed a 2nd hard disk and it’s plugged into your 2nd SATA port (SATA1) you will most likely want to select the entry for sdb.
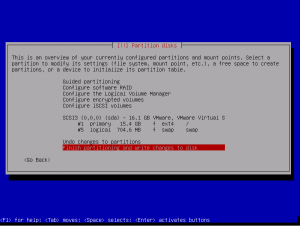
It’s probably easiest to select the first option All files in one partition (recommended for new users).
Verify that you chose the correct hard drive for your Debian install. If all looks correct select Finish partitioning and and write changes to disk
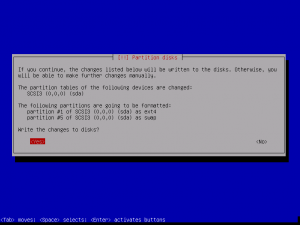
Let’s be really sure, this time it’s really going to be written to disk. If this is really really ok, select Yes and hit the enter key.
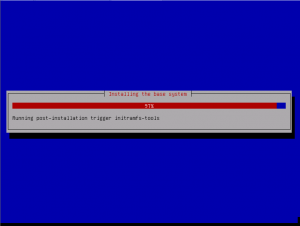
Wait again
Waiting, waiting, la la la laaaaa, waiting….
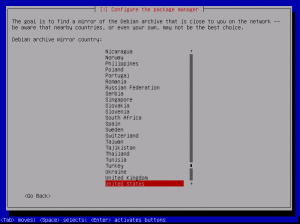
Choose your country
This will help locate a software mirror (repository) in your geographic region for efficiency.
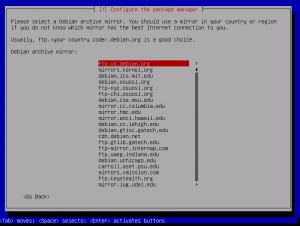
You can research which mirror is truly close to you, or you can do what 99.9% of people do and select the very first entry and then hit enter.
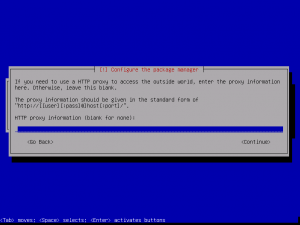
If you are behind a proxy server you can enter that information here. If you are unsure, you are probably not behind a proxy server and can just hit continue, then the enter key.
Wait….AGAIN?
More waiting…
Participate in the package usage survey?
This is the point where Debian is going to ask you if you want to share statistics about the packages you select and install. The default is No so we’ll select No. Obviously we’re not here because we’re into sharing our data…duh.
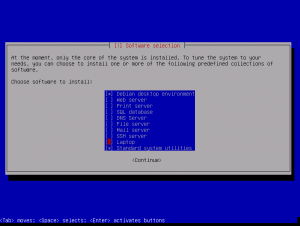
Choose some basic package sets to get started
It’s time to select what we’re going to do with our computer. The best selection are Debian desktop environment, Standard system utilities and if you are doing this on a laptop or notebook make sure to select Laptop on this page also.
Wait (for real this time)
You thought you were waiting before. Depending on the speed of you internet connection this could be a bit of waiting. Go grab a snack and a coffee and check back later.
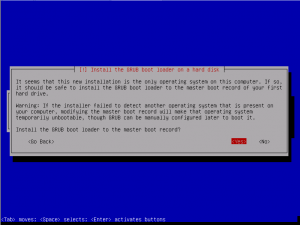
Install the Grub boot loader
Finally, we’re done with the bulk of the heavy lifting. This is where we decide where to install the boot manager to boot our system. Computers are usually configured to boot from the first hard drive so we’ll select Yes, when it asks if we want to “Install the GRUB boot loader to the master boot record?”
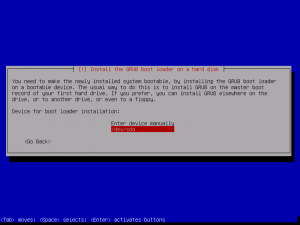
Select /dev/sda (or /dev/hda which I doubt it will).
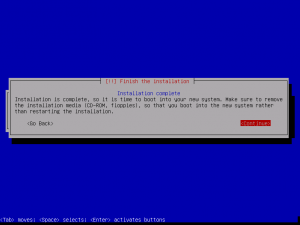
All Done
Installation is complete. Look at you, you amazing technical ninja! Hit Continue to see the results of you hard work!
Boot up Debian
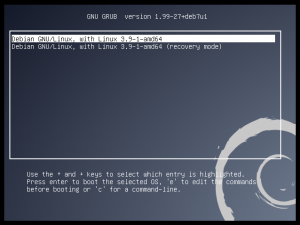
This is what your boot loader will look like. If you installed Debian on a 2nd Hard drive and Windows is still installed, you’ll see 2 entries for Debian (one of a recovery mode) and a entry for Windows. You can select either to proceed. If you want to boot into Debian Linux (which is why we’re here) select Debian and hit Enter, or wait a few seconds and it’ll boot for you!
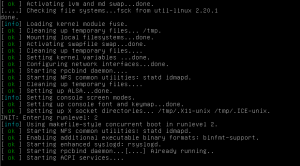
Ohhhh technical looking stuff
Debian is now booting. Look at all the techie stuff and pretend that you are reading it ESPECIALLY if someone is watching you watch it. We want to amaze them!
Log In
Debian is booted and the Graphical Desktop Environment (GNOME) has loaded. Click on your username then enter your user password that you sent (user password NOT root password)
Things will appear differently than Windows or Mac OS, but the good news is that there is menu bar at the top. You’ll either have an “Applications” menu or an “Activities” menu
The “Applications” menu is where you can find all your programs, grouped by use.
The “Activities” menu will give you two options “Windows” or “Applications”
- Windows – Shows you all open windows so you can select which one you want (instead of using alt+tab to cycle through them)
- Applications – is the menu where you can find all your programs, grouped by use.
Time to start using Linux
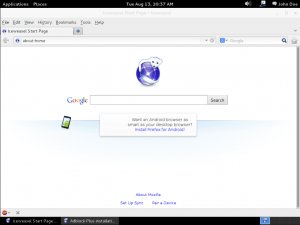
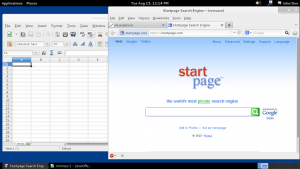
Obviously you need to be on the internet so you can use search engines to empower your Debian Linux use. Open Applications > Internet and click on IceWeasel
Iceweasel is the open source version of Firefox. You’ll want to change the default homepage and built in search engine to something un-Google.
Yay, you should be now on the Internet! Now that you’re online get some security browser extensions: Ghostery and Https Everywhere. If you are truly hard core privacy then look for NoScript and AdBlock.
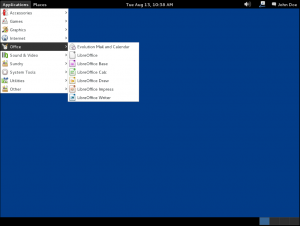
Did I mention that Debian comes with a full blown, full featured office suite, Libre Office?
Get your Word on…. oh I mean get your Libre Office Writer on. My bad.
If you want to install addtional software Click the Applications>System Tools>Software
In Software you can search or browse for more software to install, like IceDove, the opensource Thunderbird email client.
In Software you can search or browse for more software to install, like IceDove, the opensource Thunderbird email client.
Once you get a bit more comfortable in your Debian surroundings you can install software using the command line via apt.
Applications>Utilities>Terminal
#sudo apt-get install icedove
Download this post for offline reading
Recommended Resources:
Now that you have Debian installed check out https://prism-break.org/ to find privacy respecting alternatives for other software, online services and cloud services.
Filed under: Security & Privacy - @ August 13, 2013 6:35 pm


